My work (TWG) has a 3D printer for employees to play with and use. Sometime last summer I downloaded some train tracks from thingiverse and printed them for my son to play with. He loves the custom tracks dearly. He’s always excited to visit my work to see what a coworker called “the toy factory”. And often he will ask me to print him something while I’m at work. So I get a lot of emotional reward from using this machine.
Thomas and Friends (based on the books by Rev. Audrey) has a line of toys called “wooden railway”. The tracks are an ad hoc standard, and work with many different brands including Brio (my favourite), imaginarium, Melissa and Doug, and (for the most part) Ikea. You can find lots of designs for brio compatible tracks on thingiverse. Seemingly all kids love these.
Unfortunately for parents, there are also Thomas “Take ‘n Play” trains which are about 70% of the size of the wooden railway models. The engines and rolling stock don’t fit on the same track, and the track connectors are incompatible. I accidentally bought my boy a Take ‘n Play engine once, and my son received a track set as a gift from a grandparent. This was quite a limited set that didn’t offer much room for creativity.
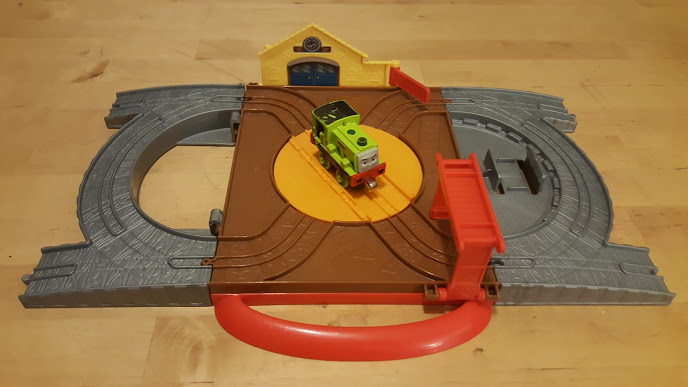
My son enjoyed it, but he asked me to print tracks that would work for this system. I checked thingiverse and google and could find none. This provided the challenge I needed to design and make my own 3D models.
I chose to use openSCAD for modelling. I was reading a comparison of different
modelling software and it said that openSCAD has for loops, and I was sold. I love a good for loop.
openSCAD has three primitives and extrudable polygon support, as well as several object transformations like
skewing and resizing. It also supports module which works similar to a function call and allows you to
repeat groupings of commands to repeat code and make it more readable. With these tools you can build up more
complex designs.
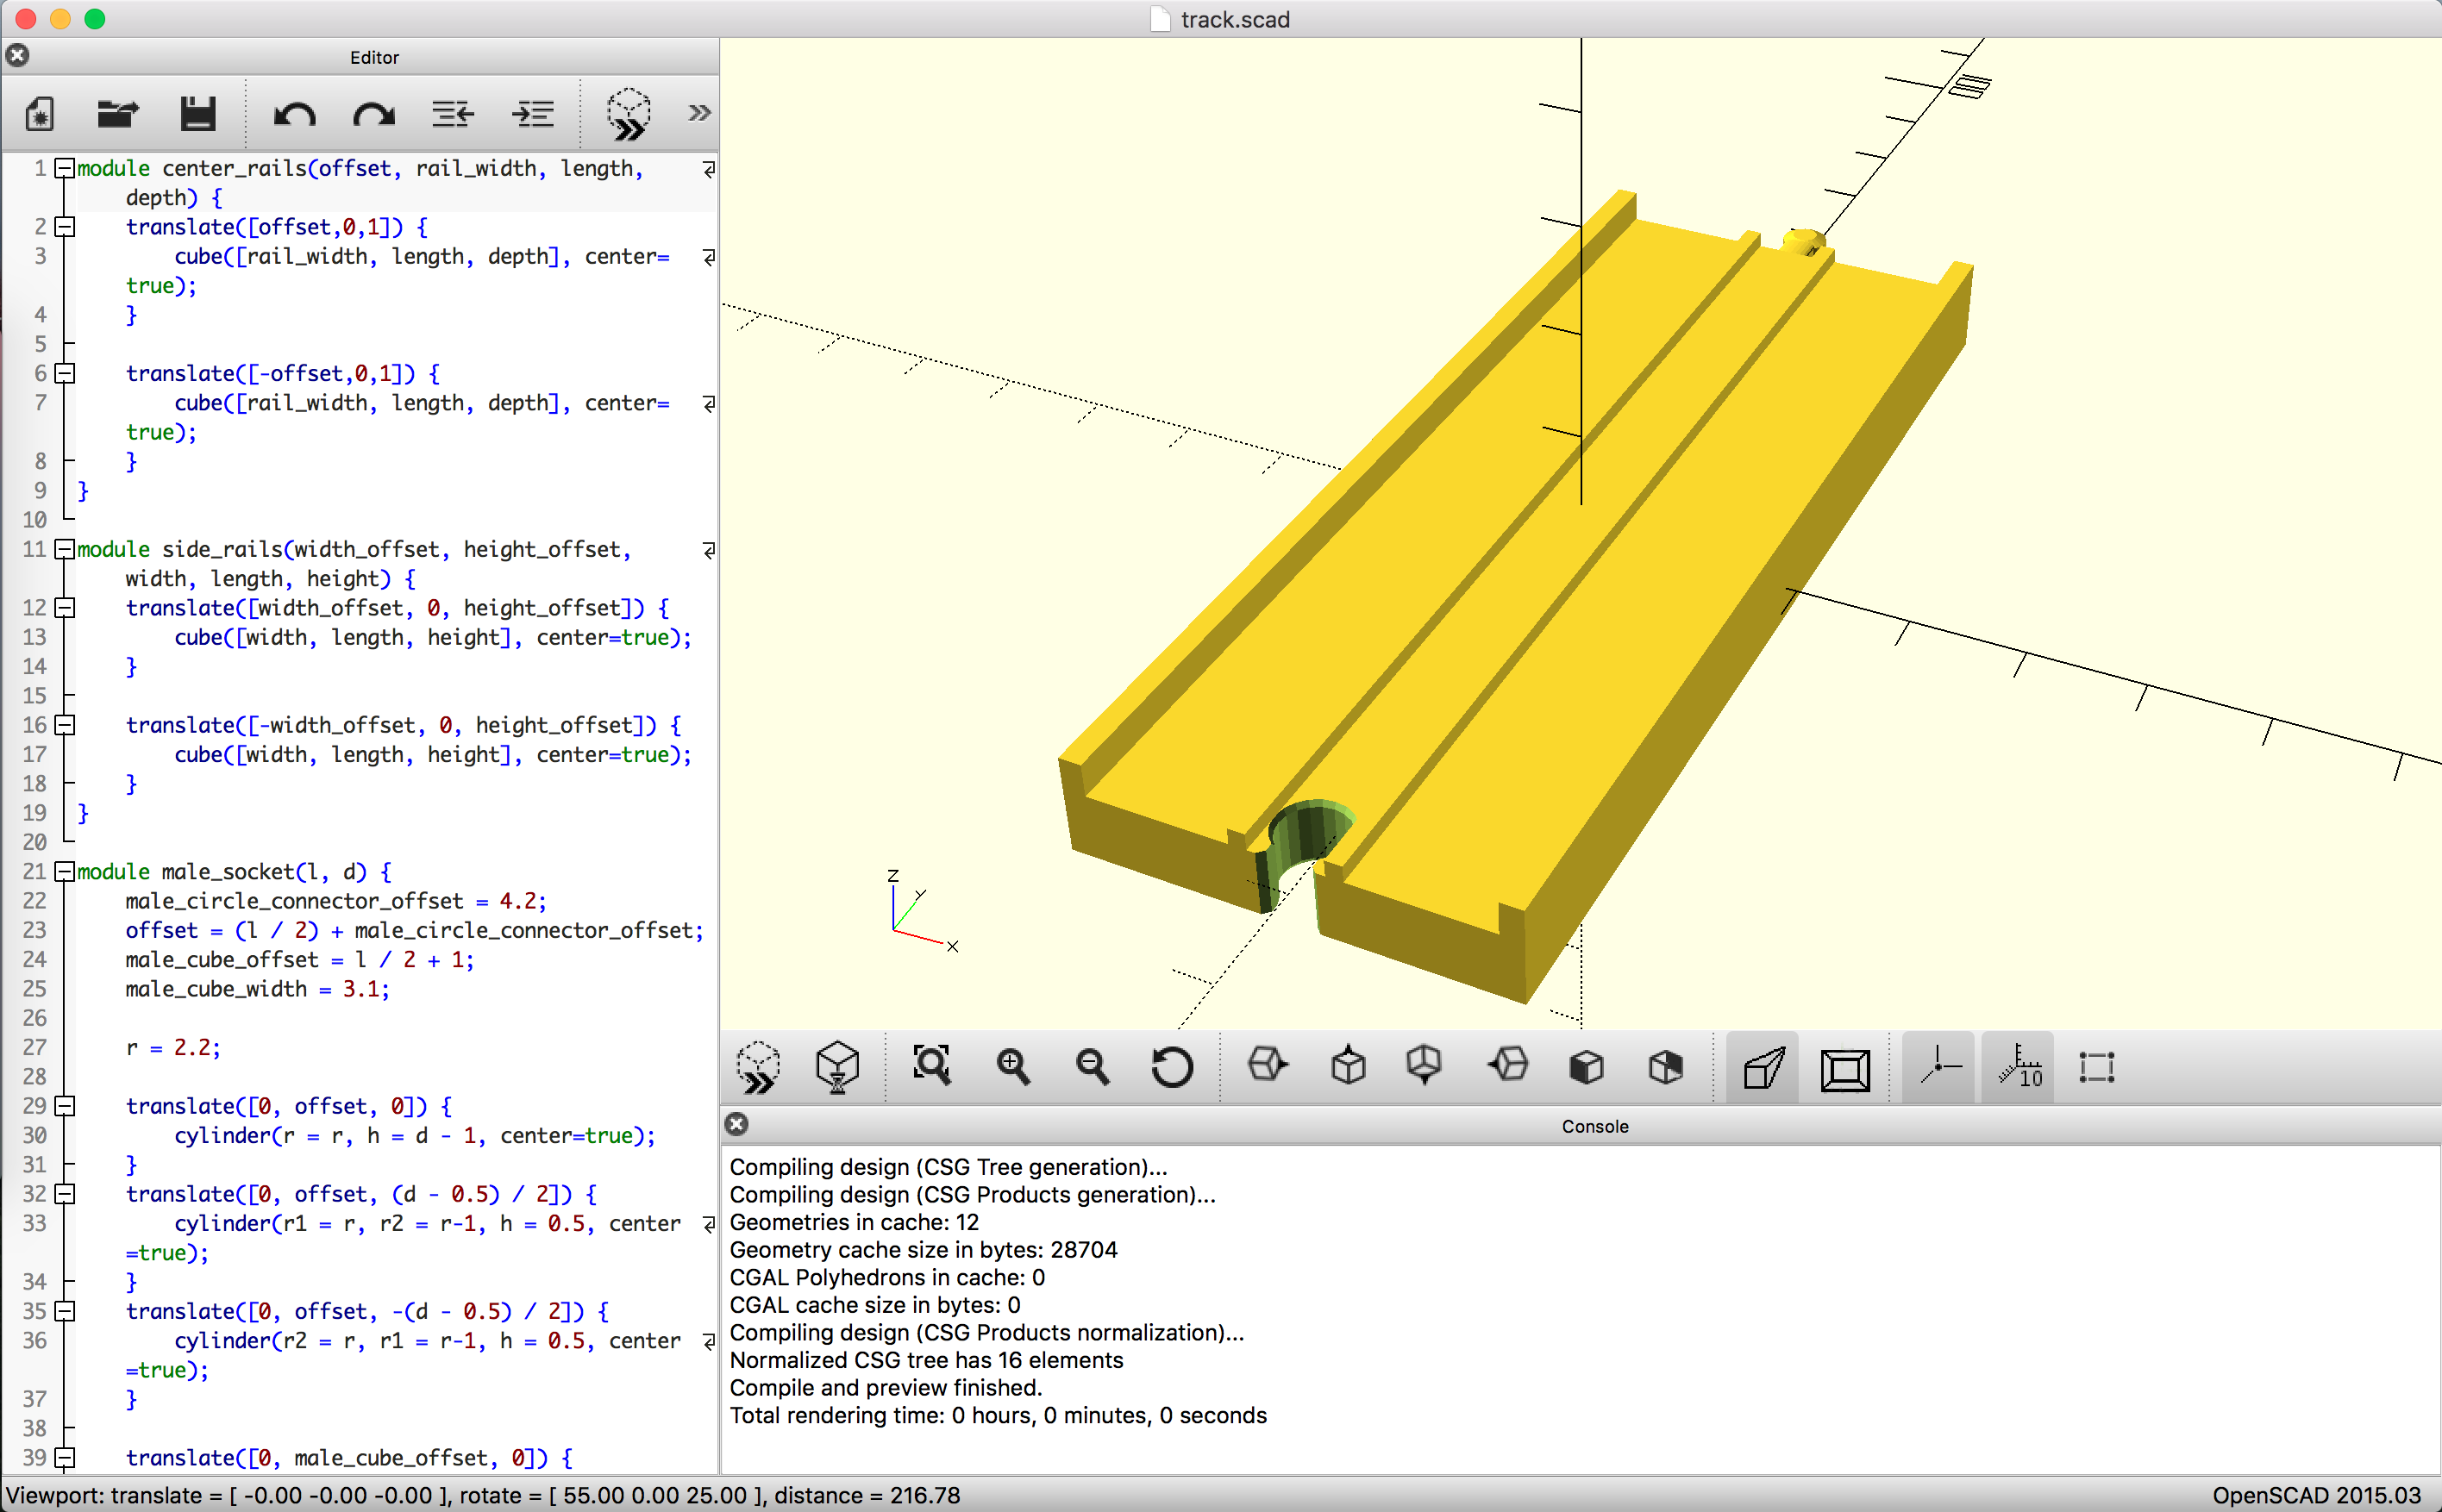
Designing the object was an interesting process. At first I built a simple version of the object with primitives and hard-coded dimension values, which I measured with a micrometer. My next step was to factor common variables and move objects and transformations out into modules.
Because I generally have at least a few lines of code in my blog posts, here’s a simple module that defines the center rails for my track design:
module center_rails(offset, rail_width, length, depth) {
    translate([offset,0,1]) {
        cube([rail_width, length, depth], center=true);
    }

    translate([-offset,0,1]) {
        cube([rail_width, length, depth], center=true);
    }
}
You can see the whole code in a github repo, or get this object on thingiverse.
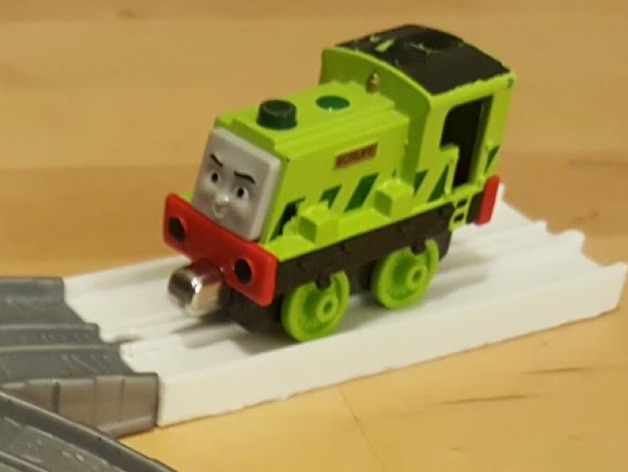
Through this process I learned that what you measure with a ruler isn’t necessarily what you need to print to have a working model. I created about eight prototype pieces before I had compatible male and female connectors. In my first attempt, I used the same measurements for each, but this didn’t work because the connectors need a little bit of space to slide past one another. It was a really fun process and I’m very much looking forward to showing these to my son tomorrow.